Introduction to testing in CRA

Hello everyone, writing tests as a developer always sounds scary at first but it's not that hard. In this blog, we will learn how to get started with writing tests in your application. We will be using the JEST framework which comes with create-react-app. A basic understanding of React and pure javascript functions are required. With that, let's get started!
Writing a simple test
Let's write the most basic test, the addition of two numbers. We want to test whether our program adds two numbers correctly or not. So, we will need a function to add two numbers and a test function to check the logic of the program. This test function will tell whether our test passes or not and will return a success or failure message.
  // Program
  function add(a, b) {
     return a + b;
  }

 // test results
 const pass = (testname) => console.log(`${testname} passed`);
 const failure = (testname) => console.error(`${testname} failed`)

  // test function
  function test(testname, callback) {
     const testResult = callback();
     testResult ? pass(testname) : failure(testname)
  }

  // testing the add function
  test("should add two numbers", () => {
      const a = 5;
      const b = 10;

      return add(a, b) === 15;
  })
Yes, that's it!! We have written our first test without using any framework. What I want to convey here is that there is no magic here, jest will also do the same thing for us but with some pre-defined utility functions.
Why tests?
The reason I mentioned the above example is that I get overwhelmed whenever I learn a new topic, writing our mini-framework boosted our confidence in writing tests. It also showed us that tests are nothing but code. Now let's see how tests help a programmer:
- The documentation never gets old, tests make sure that all of your features are tested.
- You will add a new feature with confidence as there won't be bad deploys.
- Code refactoring becomes easy.
- You'll end up writing better code especially if you do
test-driven-development.
Using jest
I am assuming you're familiar with writing reducer functions to manipulate the state of your app. We have a cart.reducer.js file that contains a reducer function for different user actions.
export const initialState = {
  items: [],
  totalPrice: 0,
 };

function cartReducer(state, action) {
  switch (action.type) {
    case "ADD_TO_CART":
      return {
        ...state,
        items: [...state.items, action.payload.item],
        totalPrice: state.totalPrice + action.payload.item.price,

      };

    case "REMOVE_FROM_CART":
      return {
        ...state,
        items: state.items.filter((item) => item.id !== action.payload.item.id),
        totalPrice: state.totalPrice - action.payload.item.price
      };

    default:
      break;
  }
}

export default cartReducer;
Now, create a cart.reducer.test.js file in which we will test the functionalities of the cart reducer. JEST has a describe(name, fn) function which groups together several related tests. Pass a string to name argument that describes what you're testing and a callback function as its second argument.
import cartReducer, { initialState } from "./cart.reducer";

describe("testing cart functionality", () => {

});
In the callback function, we will write tests for our cart. JEST comes with a test(name, fn, timeout) function, we have to pass the name of the test and a callback function as its first two arguments and an optional timeout argument which specifies how long to wait before aborting the test, we won't use it in this post.
We also use expect(value) function whenever we want to test a value, we will use expect with a matcher function named toEqual(value).
You can check the API reference of expect and its matcher functions here - https://jestjs.io/docs/expect
In simple words, we will test whether the expected value is equal to the desired value or not. Let's write some code now in the callback function of describe
    // product
    const item = {
      name: "one plus buds",
      id: "123",
      price: 3000
    };


    let action = { type: "ADD_TO_CART", payload: { item } };

    /* state is the return value of cartReducer function */
    let state = cartReducer(initialState, action);

    /* checking whether state is equal to the desired value or not */
    expect(state).toEqual({
      items: [{ name: "one plus buds", id: "123", price: 3000 }],
      totalPrice: 3000,
    });
So what have we done here?
- We imported the initial state of the cart from the
cart.reducer.jsfile - Then we added an item to the state using the reducer function.
- As I mentioned in the first example when we add two numbers, we expect the result to be some of those two numbers. Similarly, when we add an item to the cart, the result should contain that item in the
items arrayandtotalPriceshould also update according to the price of the item.
That's it, we have written our first test in JEST, yay!!
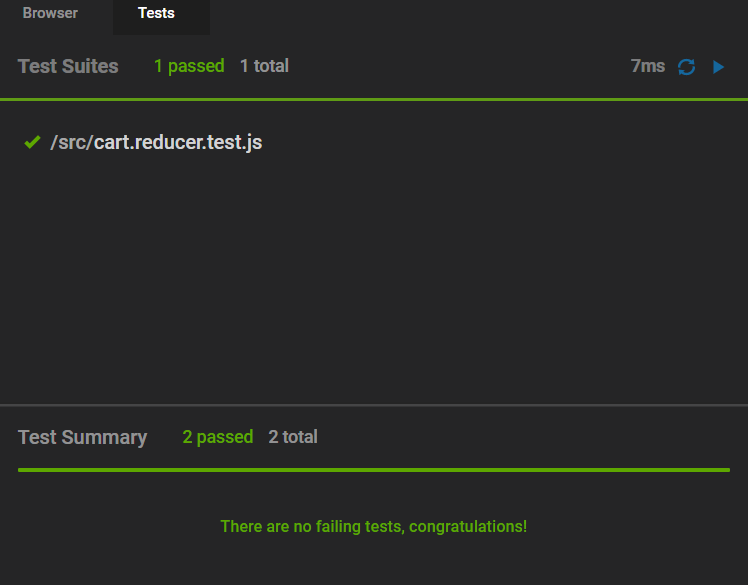
- If you're using codesandbox, then you can simply run your tests in the tests tab present on the right side of your screen.
 Check out the full app here - testing-with-jest
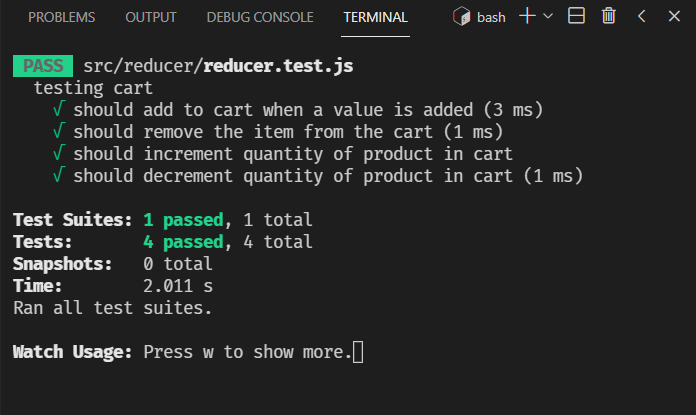
- If you're using VS Code, you can run the
npm testoryarn testcommands to run the tests. These commands will run all the test files in your application, to run only a specific file, typenpm test filenameoryarn test filenamein your terminal. The below screenshot is the result of tests in my e-commerce application.
Conclusion
In this blog, we learned how to get started with testing. There are many things to learn on this topic but it's important to start small when you're learning something new. Also, mentioning JEST in your resume will make you stand out from the crowd as no one expects a newbie or a fresher to know this stuff.
I hope this blog was valuable to you, do play with the application and write more tests for cases like incrementing and decrementing quantity of product, you'll learn a lot.
Thank you for your time, please drop your feedback in the comments and share this blog with your developer friends if you found it useful. You can also reach out to me on Twitter to connect.
Happy coding! 😀

